In this guide I’ll show you how to quickly setup Tailwind in your Django project.
As someone who used to use Bootstrap in most projects, at first I was reluctant to change that for the new shiny css framework out there. But once I gave Tailwind a try, I stuck with it for 3 main reasons:
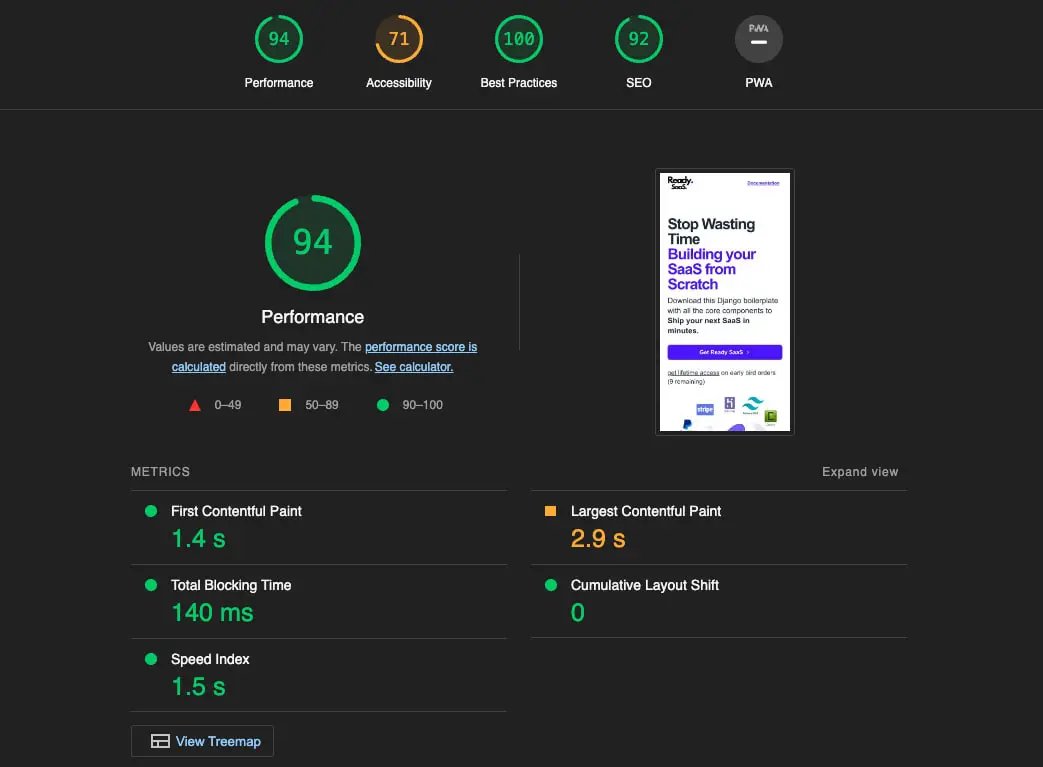
Without Tailwind - This page went from a decent performance score of 82,
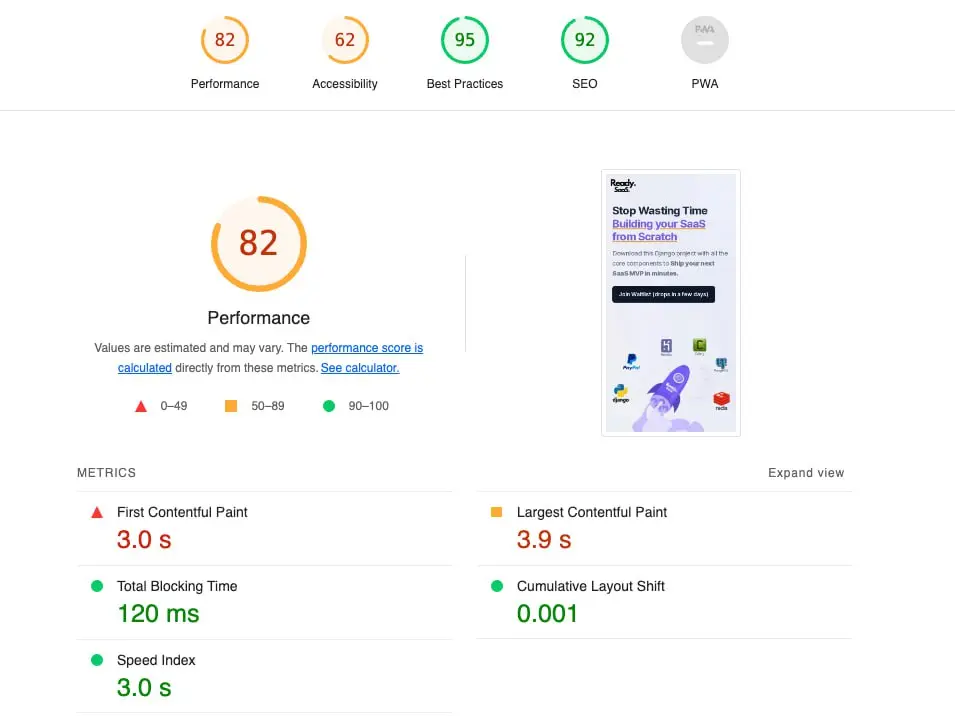
to a highly optimized 94 (With Tailwind!)
I’m assuming you already have a Django project set up.
add a directory named css_config (you can call it whatever you want) at the root level of your django project, cd into it and run the following commands:
mkdir css_config
cd css_config
npm init -y
npm install tailwindcss
npx tailwindcss init
Here’s what each of the commands mean:
npm init -y: Creates a new package.json file with default settings for a Node.js projectnpm install tailwindcss: Installs Tailwind CSS into the project as a dependency.npx tailwindcss init: Generates a tailwind.config.js file, allowing customization of Tailwind CSS settings for the project.after running all those commands you’ll see all the following new files and directories in your project
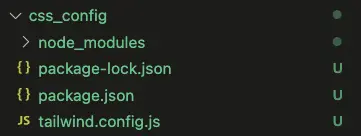
you should add node_modules to the .gitignore file
node_modules/
Next, update the content array in tailwind.config.js to include paths to your Django templates.
content: [
    "../**/templates/**/*.html",
],
Note: Include paths as needed according to the location of template files in your project.
Create the input.css file in your static directory, e.g., /path-to/static/css**/input.css**, and include the following Tailwind directives:
@tailwind base;
@tailwind components;
@tailwind utilities;
note: make sure to replace /path-to/static/css/ with the actual path to your static css assets.
To compile your CSS, add a script to your package.json:
"scripts": {
    "tailwind-watch": "tailwindcss -i ../path-to/static/css/input.css -o ../path-to/static/css/output.css --watch",
    "tailwind-build": "tailwindcss -i ../path-to/static/css/input.css -o ../path-to/static/css/output.css --minify"
}
note: make sure to replace /path-to/static/css/ with the actual path for input.css and output.css
You’re almost done. Now all you need is to load the css in your templates (like with any other css)
so make sure you include this at the top of you template
{% load static %}
and import the output.css file that’s generated from previous steps (and make sure the path matches the file location!!)
<link href="{% static 'path-to/css/output.css' %}" rel="stylesheet">
replace path-to/css/output.css with the path used in the package.json scripts.
In one tab you should have the django server running
python manage.py runserver
and in another tab, run the following command, which we defined earlier in the package.json scripts.
Note: To run this command you need to be in the css_config directory:
npm run tailwind-watch
This command will scan your template files for classes and build your CSS.
If it’s the first time running this command, you’ll see that the file output.css has been created at the path you defined in previous steps.
The tailwind-build command (also defined in package.json) should be used when you’re ready to commit your changes. This will minify the css, reducing the file size, and therefore optimizing page load times.
You’re all set! 👏👏👏👏
Your Django project is now integrated with Tailwind CSS! 🥳
If you're looking to supercharge your Django development process further, your next step is Ready SaaS.
Our Django boilerplate is engineered to help you launch SaaS projects at 10x speed.
Access our newsletter for thoughtful guides and practical insights on Django development. We're committed to sharing valuable content to help you grow.